If you’re someone who is familiar with photography, you’d know lighting is the most important aspect of a good photo.
Even when it’s night photography, correct lighting is still needed to effectively showcase your subject to the audience.
In this post, we’ll specifically talk about lighting for Instagram photos.
After reading it, you will know the skills and knowledge to create outstanding Instagram photos. Without further ado, let’s dive in.
Lighting For Instagram Photos
Natural Light Is The Best
Natural sunlight is the best source of light when taking photos. The natural light from the sun adds warmth and richness to the photos, making it the most effective way to illuminate a subject.
However, you need to avoid taking photos under harsh sunlight, especially during mid-day. Too much sunlight creates unwanted harsh shadows on your subjects. Instead, take it during the golden hour or a cloudy day.
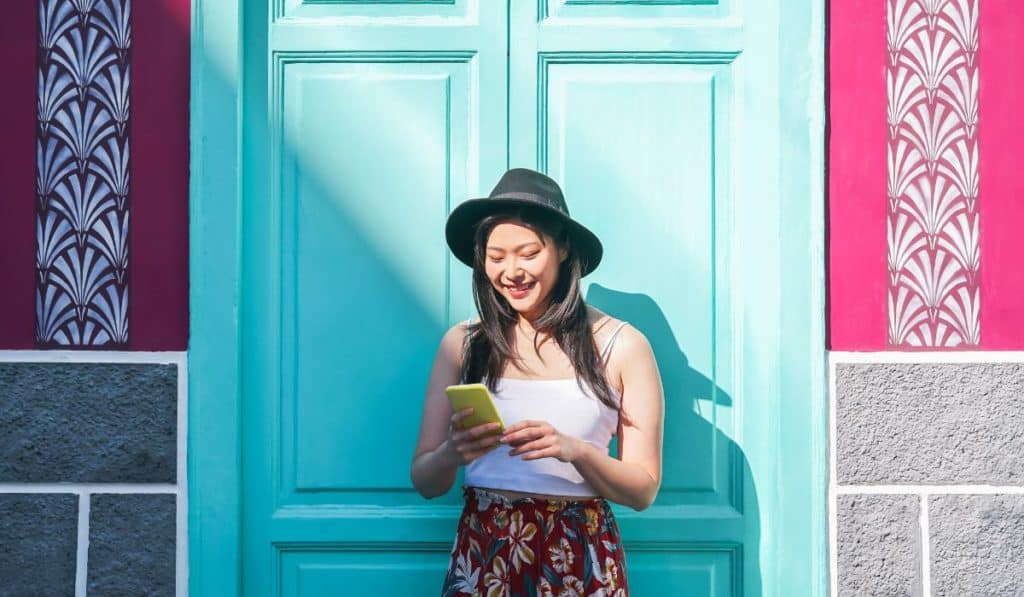
Golden hour, or sometimes called “magic hour”, is the time of the day shortly after sunrise or before sunset. Light during the golden hour is usually redder and softer, making it the perfect lighting to take Instagram photos.
You can capture anything with this lighting. From taking pictures of hiking activity, products photography, or model shooting; at the end of the day, you will have plenty of amazing photos to be posted on Instagram.
Another reason for taking photos during golden hour is because the soft brightness gives a beautiful, soft look on your face. The gentle sunlight makes your skin glow, soften your features, and eliminate impurities.
But what if you don’t have a team to take photos of you during the “magic hour”? Worry not, there are ways for you to take stunning photos of yourself alone. Learn how to do it on how to take Instagram photos of yourself.
In any case you miss out on the golden hour, you can simply do the photo shoot on a cloudy day. The clouds will soften the sunlight, thus minimizing shadows while still presenting rich colors.
Taking Indoor Photos
Indoor photography can be a little tricky. You might run into the risk of inadequate light or getting harsh and weird shadows.
Natural sunlight, again, is the best light to have for indoor photography. Thus, what you can do is to find a spot with sufficient sunlight.
A spot with a huge clear window around can provide what you need for a good photo. Or else, just find any light source and keep it behind the camera to make sure there’s enough light on the subject.
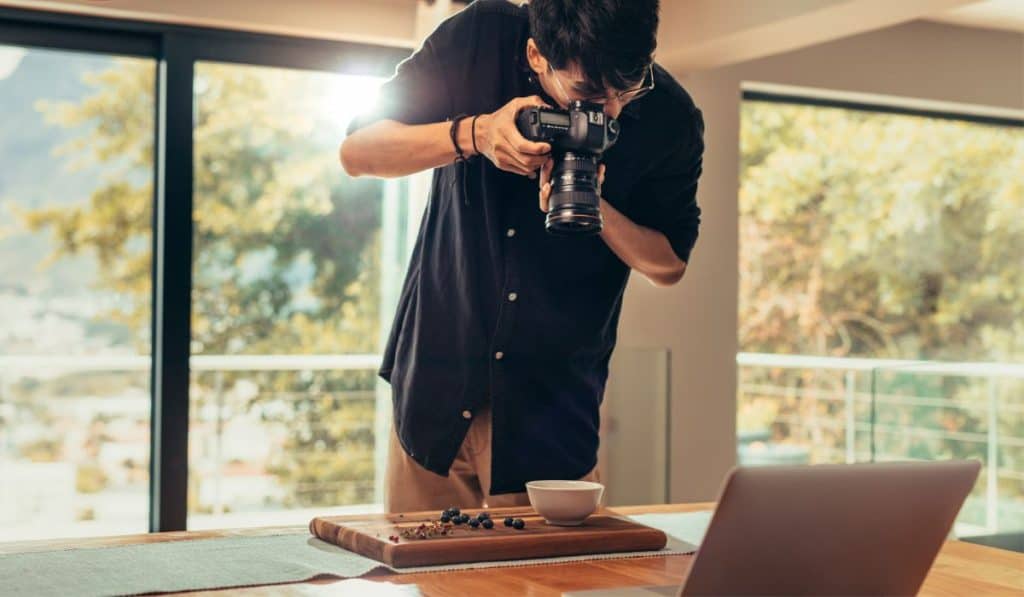
If you only have a lamp or harsh light source, you can use a reflector to manipulate the light and shadow. Alternatively, you can soften the light by putting a light cloth or piece of paper over it.
Otherwise, renting a photo studio is another option for indoor photos. Photo studio is especially useful if you want to take pictures of clothes for your Instagram content.
All you need to do is bring your own shooting equipment, or you can even rent those equipment, and start the photo shooting.
Use Flash Wisely
Flash is a tool that is used to illuminate your subjects, especially in a low light situation. However, you should not use it as the main light source. Instead, use flash to add light to a scene and eliminate shadows.
To get this result, it is best to use an on-camera flash rather than the in-built flash on your camera or smartphone camera. Reason is direct light from in-built flash might result in unflattering images, even though you can easily fix the light harshness using a homemade diffuser.
Still, the best option is to invest in an on-camera flash as you can have more control over your lighting. Besides, an on-camera flash unit can be tilted and turned, which means you can make the light bounce to a different surface.
Also, avoid using flash around mirrors or windows, unless your goal is to have the bouncing light shows on your photos. Glass material will reflect the light and you will end up having unusable photos for Instagram.
Product Photography for Instagram
Unfortunately, to capture photos of products, a simple natural sunlight won’t be sufficient. You will need a more sophisticated solution: A lightbox.
The good thing is that lightboxes aren’t that expensive. Moreover, there are different sizes in the market that can cater your needs. Looking to buy a lightbox, here is one of the good options found on Amazon.
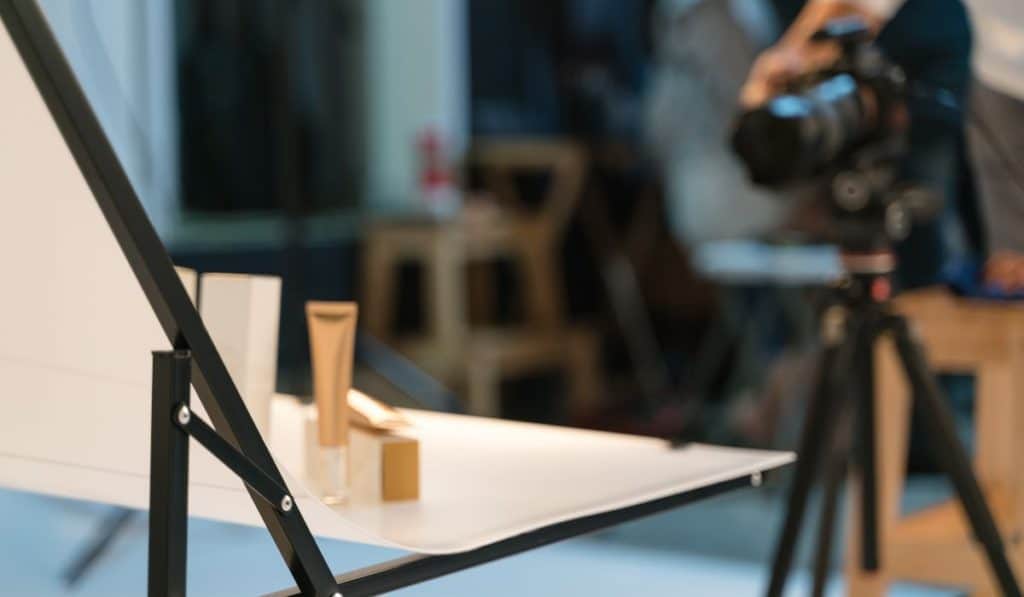
However, if you’re under a tight budget, or simply don’t want to buy a lightbox, you can always DIY one at home.
There are plenty of DIY tutorials about lightbox that you can find and refer to on the net, especially on Pinterest.
Use Free App For Light Adjustment
By any circumstance you don’t have good lighting when doing a photo shoot, you can use some photo editing apps in the market to adjust the lighting.
You can use apps like Snapseed or Adobe Lightroom to do lighting adjustment or any other photo editing. Both apps are free and are currently the most popular photo editing app around.
Otherwise, you can always directly use filters from Instagram to do the adjustment.
Use a Professional Camera
You might own the best smartphone camera in the market, still, a smartphone camera has its limitations.
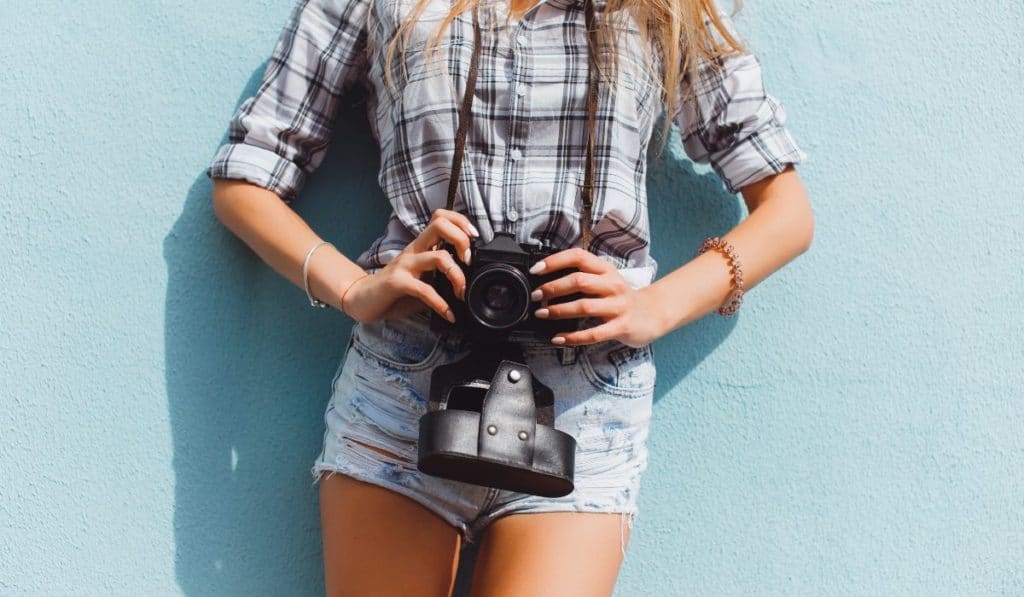
A decent camera is still a better option when it comes to capturing photos. You will be able to edit photos and videos freely without worrying about destroying and making them pixelated.
Moreover, you can also easily adjust the camera setting according to your environment.
Thus, it is best to invest in a decent camera. Not sure what camera is the best for capturing stunning photos, check out our compilation on the best camera for Instagram to get the one for you.
If you have a little more budget, you can also consider getting a GoPro. GoPro is a good device that comes in handy when you’re travelling or doing any sport activities.
To get the best photo and video quality for Instagram posting, you need to adjust certain settings. Check out what are the settings on what are the best GoPro settings for Instagram.
Final Thoughts
This is all the knowledge on lighting for Instagram photos. By following these 6 tips, you are surely able to capture amazing photos to post on Instagram.
Here’s a quick recap:
- Natural sunlight is the best light. Try to do your photo shoot during the golden hour.
- When you have a harsh light source, like a lamp, use a reflector to control the light and shadow.
- Use flash wisely. Avoid using flash as the main light source or you’ll end up having bad photos.
- For product photography, use a lightbox. You can either buy the lightbox or self DIY it.
- Use a free app to adjust the brightness and further photo editing.
- Invest in a decent professional camera. You won’t be disappointed with the end photo result.
