Hiking is not just an activity people do for their health or sake of adrenaline.
Nowadays, even photography enthusiasts or influencers go hiking, with the goal of capturing amazing scenic views.
However, taking quality hiking photos can be a challenge. This is especially if you have never been on the trail with a camera.
Thankfully, it’s a skill that is completely learnable. In this article, we’ll share some helpful tips in taking hiking photos that surely lessen your struggle. Let’s dive in.
10 Tips to Take Great Hiking Photos
1. Keep Your Camera Easily Accessible
Keeping your camera easily accessible while hiking is crucial. Which is to say, what’s the point of owning the finest camera that creates great Instagram content if you can’t access it right away for any photo opportunity?
The easiest way is by using a camera harness. Camera harness is a must-have hiking accessory for photographers. They mount your camera securely in front of your chest, allowing you to access it immediately.
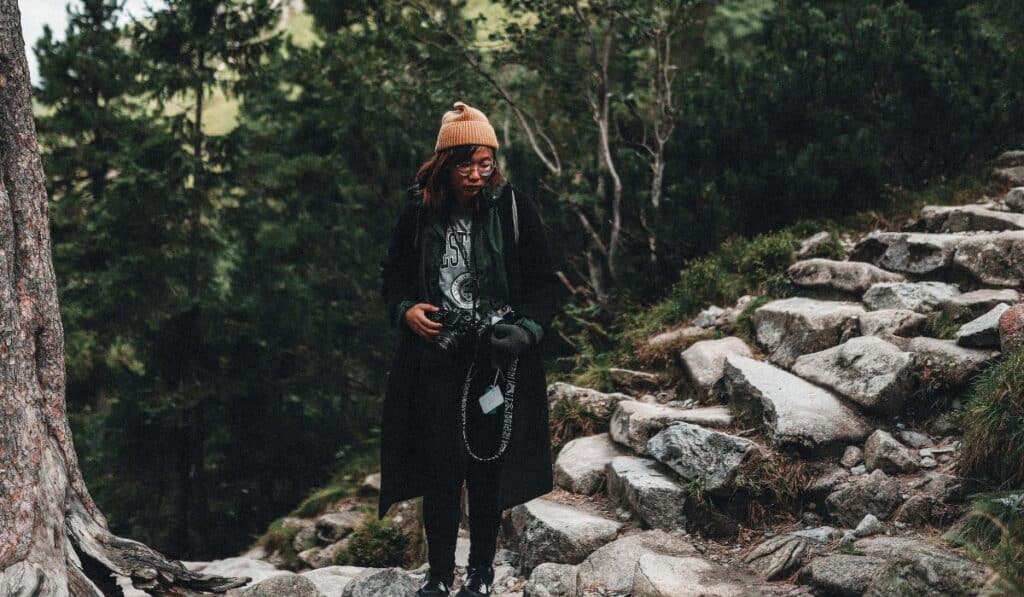
Additionally, you won’t need to fret about accidentally dropping your camera anymore. But what if your main device is a smartphone? Well, there are smartphone harnesses that work exactly the same way.
Of course, you can overlook this tip if you’re fine unloading the backpack for your camera each time you see a click-worthy view. Still, we certainly advocate you to get one for the conveniences.
2. Subject Placement
Generally, hiking trails tend to have busy backdrops, making it easier to get unfocused photos.
Which is why you need to ensure the subject is focused before clicking the button. If you’re using a DSLR, look through the viewfinder and try to zoom in or out till everything falls into the right places.
As for smartphone cameras, all you need is tap on the subject on the screen. The focus will automatically lock on the subject and keep the rest blurry.
Once everything is in place, with the subject in focus, quickly take the shot and enjoy the result!
3. Capture the Action
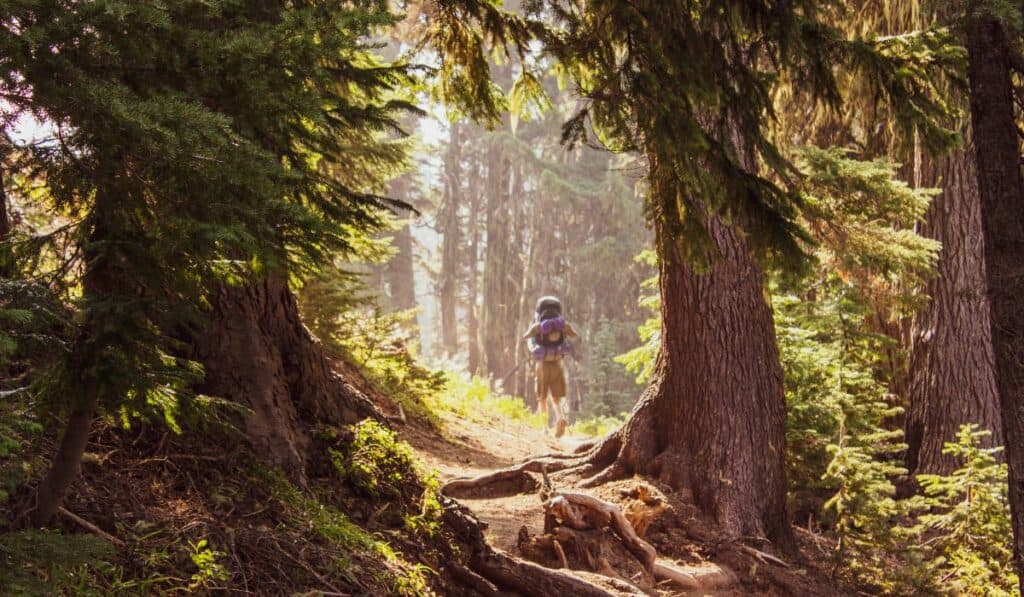
There is nothing wrong with posing for a picture. However, pictures of someone caught in the action are better off when it comes to hiking. Usually, the images look more natural and speak for themselves.
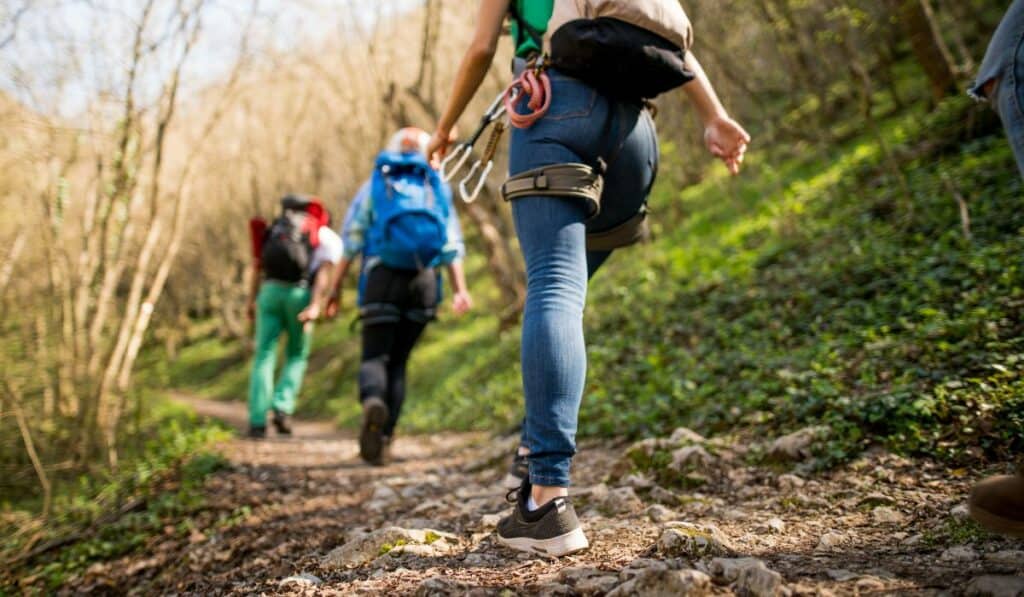
So always keep a keen eye for a suitable background. Once you spot one, stay there and start capturing people moving through it.
To get the best photo angle, constant movement is required. You certainly have to cover more ground and try to be faster than the rest. Depending on the situation as well, you will either run ahead of the group, or lag behind.
Thus, make sure you have good stamina. Remember, even if you can’t be faster, at least keep the same pace as them.
4. Optimize Your Camera Settings
One of the important tips in taking quality hiking pictures is to understand the basic camera settings. Not only will you have more control over your photos, but you’ll also reduce any mistakes made.
In brief, there are 3 main settings – shutter speed, aperture, and ISO – that you need to master. Also called the 3 pillars of photography exposure, they can impact how your photos turn out.
Shutter Speed
Shutter speed controls how quick or slow the shutter of a camera closes. It’s a setting that affects exposure – the amount of light taken in – that alters the result of a photo.
Usually, a fast shutter speed gives shorter exposure, which is ideal for taking moving objects. It will open and close so fast, that you can get a piece of the ongoing movement. In other words, it lets you freeze time.
On the other hand, slow shutter speed is used in a dimmer environment. The slow shutter speed opens the aperture, allowing more light to get in so that you can present a shot correctly.
Aperture
Aperture is the adjustable lens opening that controls how much light enters the camera. The size of aperture is adjusted through the setting f-stop number, or f-number on your camera.
In general, a wider aperture allows more light in, whereas a smaller aperture limits the light intake. It’s important to adjust the opening of your lens correctly to achieve the exposure you want.
In an outdoor setting, having a smaller aperture is sufficient as there is abundant light around. Too much light will actually wash out your photos. Naturally, you’ll get very dark images when there is too little light. Hence, set a wider aperture to let more light enter.
In addition, aperture also manipulates the depth of field for a photo. With a wide aperture, you’ll get a blur background but an in-focus on the subject. As for a smaller aperture, you get to keep everything in frame in focus, making it a better option for taking group photos or landscapes’ views.
ISO
ISO refers to the sensitivity of your camera sensor to light and impact a photo brightness or darkness. Thus, to achieve a good image quality, you need to have the right amount of light hit the sensor.
Fundamentally, higher ISO means higher camera sensor sensitivity towards light, and a lower ISO represents the opposite.
Normally, a lower ISO is set when there is bright lighting. Contrastingly, use higher ISO to compensate for the low light. To know what ISO to set for each situation, follow these general rules:
- ISO 100: Best setting for outdoor shooting on a sunny day. It’s most likely the brightest lighting you’ll be shooting in.
- ISO 400: Usually used for indoor photo shoots by the window, or during cloudy days. It is a situation when the lighting is satisfactory, but less intense.
- ISO 800: Set this ISO if you’re doing an indoor shooting but don’t have any additional light source like a flash.
- ISO 1600 or higher: A high ISO is suitable for dark surrounding, or for an indoor shooting with dim lighting. If there is motion, pair the high ISO with a fast shutter speed.
5. Leverage the Golden Hour
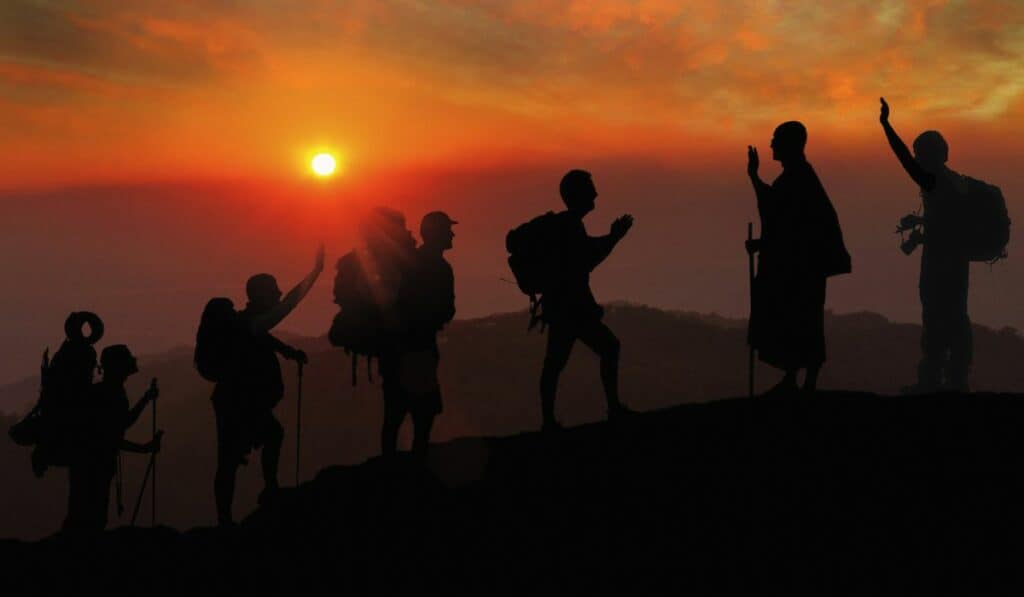
The golden hour, or called the “magic hour”, is the first hour after sunrise and last hour before sunset. It is considered as the ideal lighting in taking amazing Instagram pictures.
During golden hour, you will have a beautiful natural light that is softer, warmer and direction. It is so easy to work and manipulate to attain the result you have in mind.
If you miss the golden hour, don’t panic. Just adjust your camera settings accordingly and you will still get Instagram worthy hiking photos.
6. Pack Light
It’s common to have the urge to stuff everything in your backpack. However, there is no need to do so and give a strain on your neck and shoulders.
If it’s just a half-day hike, bring only basic things like water, a small towel, snacks, camera, and some photography equipment.
Depending on your goal, you can omit certain equipment. For example, if you plan to take pictures of the sunset, a flash is certainly not needed. Instead, bring a tripod to help you capture sharp and steady photos.
The key is to travel as light as possible. Only then you can enjoy the hike and focus on taking those beautiful views along the way.
7. Bring a Camera Tripod
People do go hiking alone to spend quality time with themselves. However, taking your own hiking pictures won’t be simple when you’re alone. Hence, we recommend you to get a camera tripod.
Camera tripod allows you to become your own photographer and model. All you need is to set the tripod, adjust the camera to the right angle, set the timer, and snap your pictures.
If you don’t wish to carry a heavy DSLR, consider getting a GoPro. Not only is GoPro light to carry, it can also be set on a tripod and produce quality photos and videos.
Besides, GoPro also has an app that can be connected to your phone. Through this app, you can now control your GoPro from your phone, making it easier for you to capture pictures of yourself for Instagram content.
If you want to know how to utilize your GoPro, especially in content creation, you can refer to the article “Best GoPro Settings For Instagram” to learn how to do it.
8. Wear Bright Colors
One of the tips to take excellent hiking photos is to play with the color contrast. A good color intensity can actually impact the overall photo aesthetic.
When your subject wears bright color clothes, it will create a contrast with the background, making them pop out and bringing attention towards them.
Nevertheless, you still need to make sure you capture with the right lighting and background. With everything done right, you will surely get stunning hiking photos.
9. Make Edits
Unfortunately, it’s hard to get the perfect lighting that makes the perfect pictures. Some need a little editing before you can publish them on your social media.
Nowadays, there are plenty of excellent editing apps like VSCO, Lightroom, or Snapseed that can enhance your photos. The great thing is you can download most of them for free, with some even having free presets.
Through the app, you can modify everything to your preference. Anything from exposure, contrast, brightness, saturation, etc. can be altered.
Still, never go overboard with the editing. We don’t want to have photos that look fake and outrageous. Just make subtle and necessary changes that improve the photo without altering the original.
10. Practice
Practice makes perfect! Mastering all these tips to get amazing hiking photos requires time and dedication.
With that being said, you need to constantly learn and practice. To improve yourself, you can consider taking photography courses. Through these courses, you can learn both basic and advanced photography knowledge, the right camera settings, the lighting, and more.
You can also acquire knowledge by joining online photography communities. Look specially for those who specialize in hiking photos since this is our goal.
Never ever feel shy asking for extra tips on taking hiking photos while in the group. Always be active by creating discussion or doing photo sharing so to get constructive feedback and suggestions that can improve yourself.
Final Thoughts
Whether you’re an avid hiker, or simply enjoy hiking for the views, or an influencer, photography is a great way to save those moments forever.
However, there is a lot that goes into capturing stunning hiking photos. Details like color contrast, camera settings, lighting, etc., can make a huge impact on the result.
Thus, from this article, we hope you can utilize these tips in taking fine hiking photos whenever you’re on the trail. All in all, good luck and happy hiking!

