Golden Hour Photography: Pro Photo Lighting Tips for Instagram
Leo Torres
July 2, 2025
Leo Torres
July 2, 2025
Photography & Videography
•
6 minutes read
If you've ever held a camera, you've probably heard some guru preach that lighting is everything. They're not wrong. Even if you're shooting in the dead of night, getting the light right is the one thing that separates a masterpiece from a blurry photo of your cat.
So, let's cut the crap and talk about the secret sauce: lighting for Instagram photos. Pay attention, because we're about to give you the keys to the kingdom.
Let's be clear: the sun is the G.O.A.T. of light sources. Natural light photography gives your photos a warmth and richness that no filter can truly replicate. It’s the most effective way to illuminate a subject without it looking like a crime scene.
However, the sun, a giver of life and light, can also cast the deepest shadows. Its raw, untamed power at high noon will create harsh, unflattering shadows on your subjects, highlighting things you'd rather keep hidden. Don't do it.
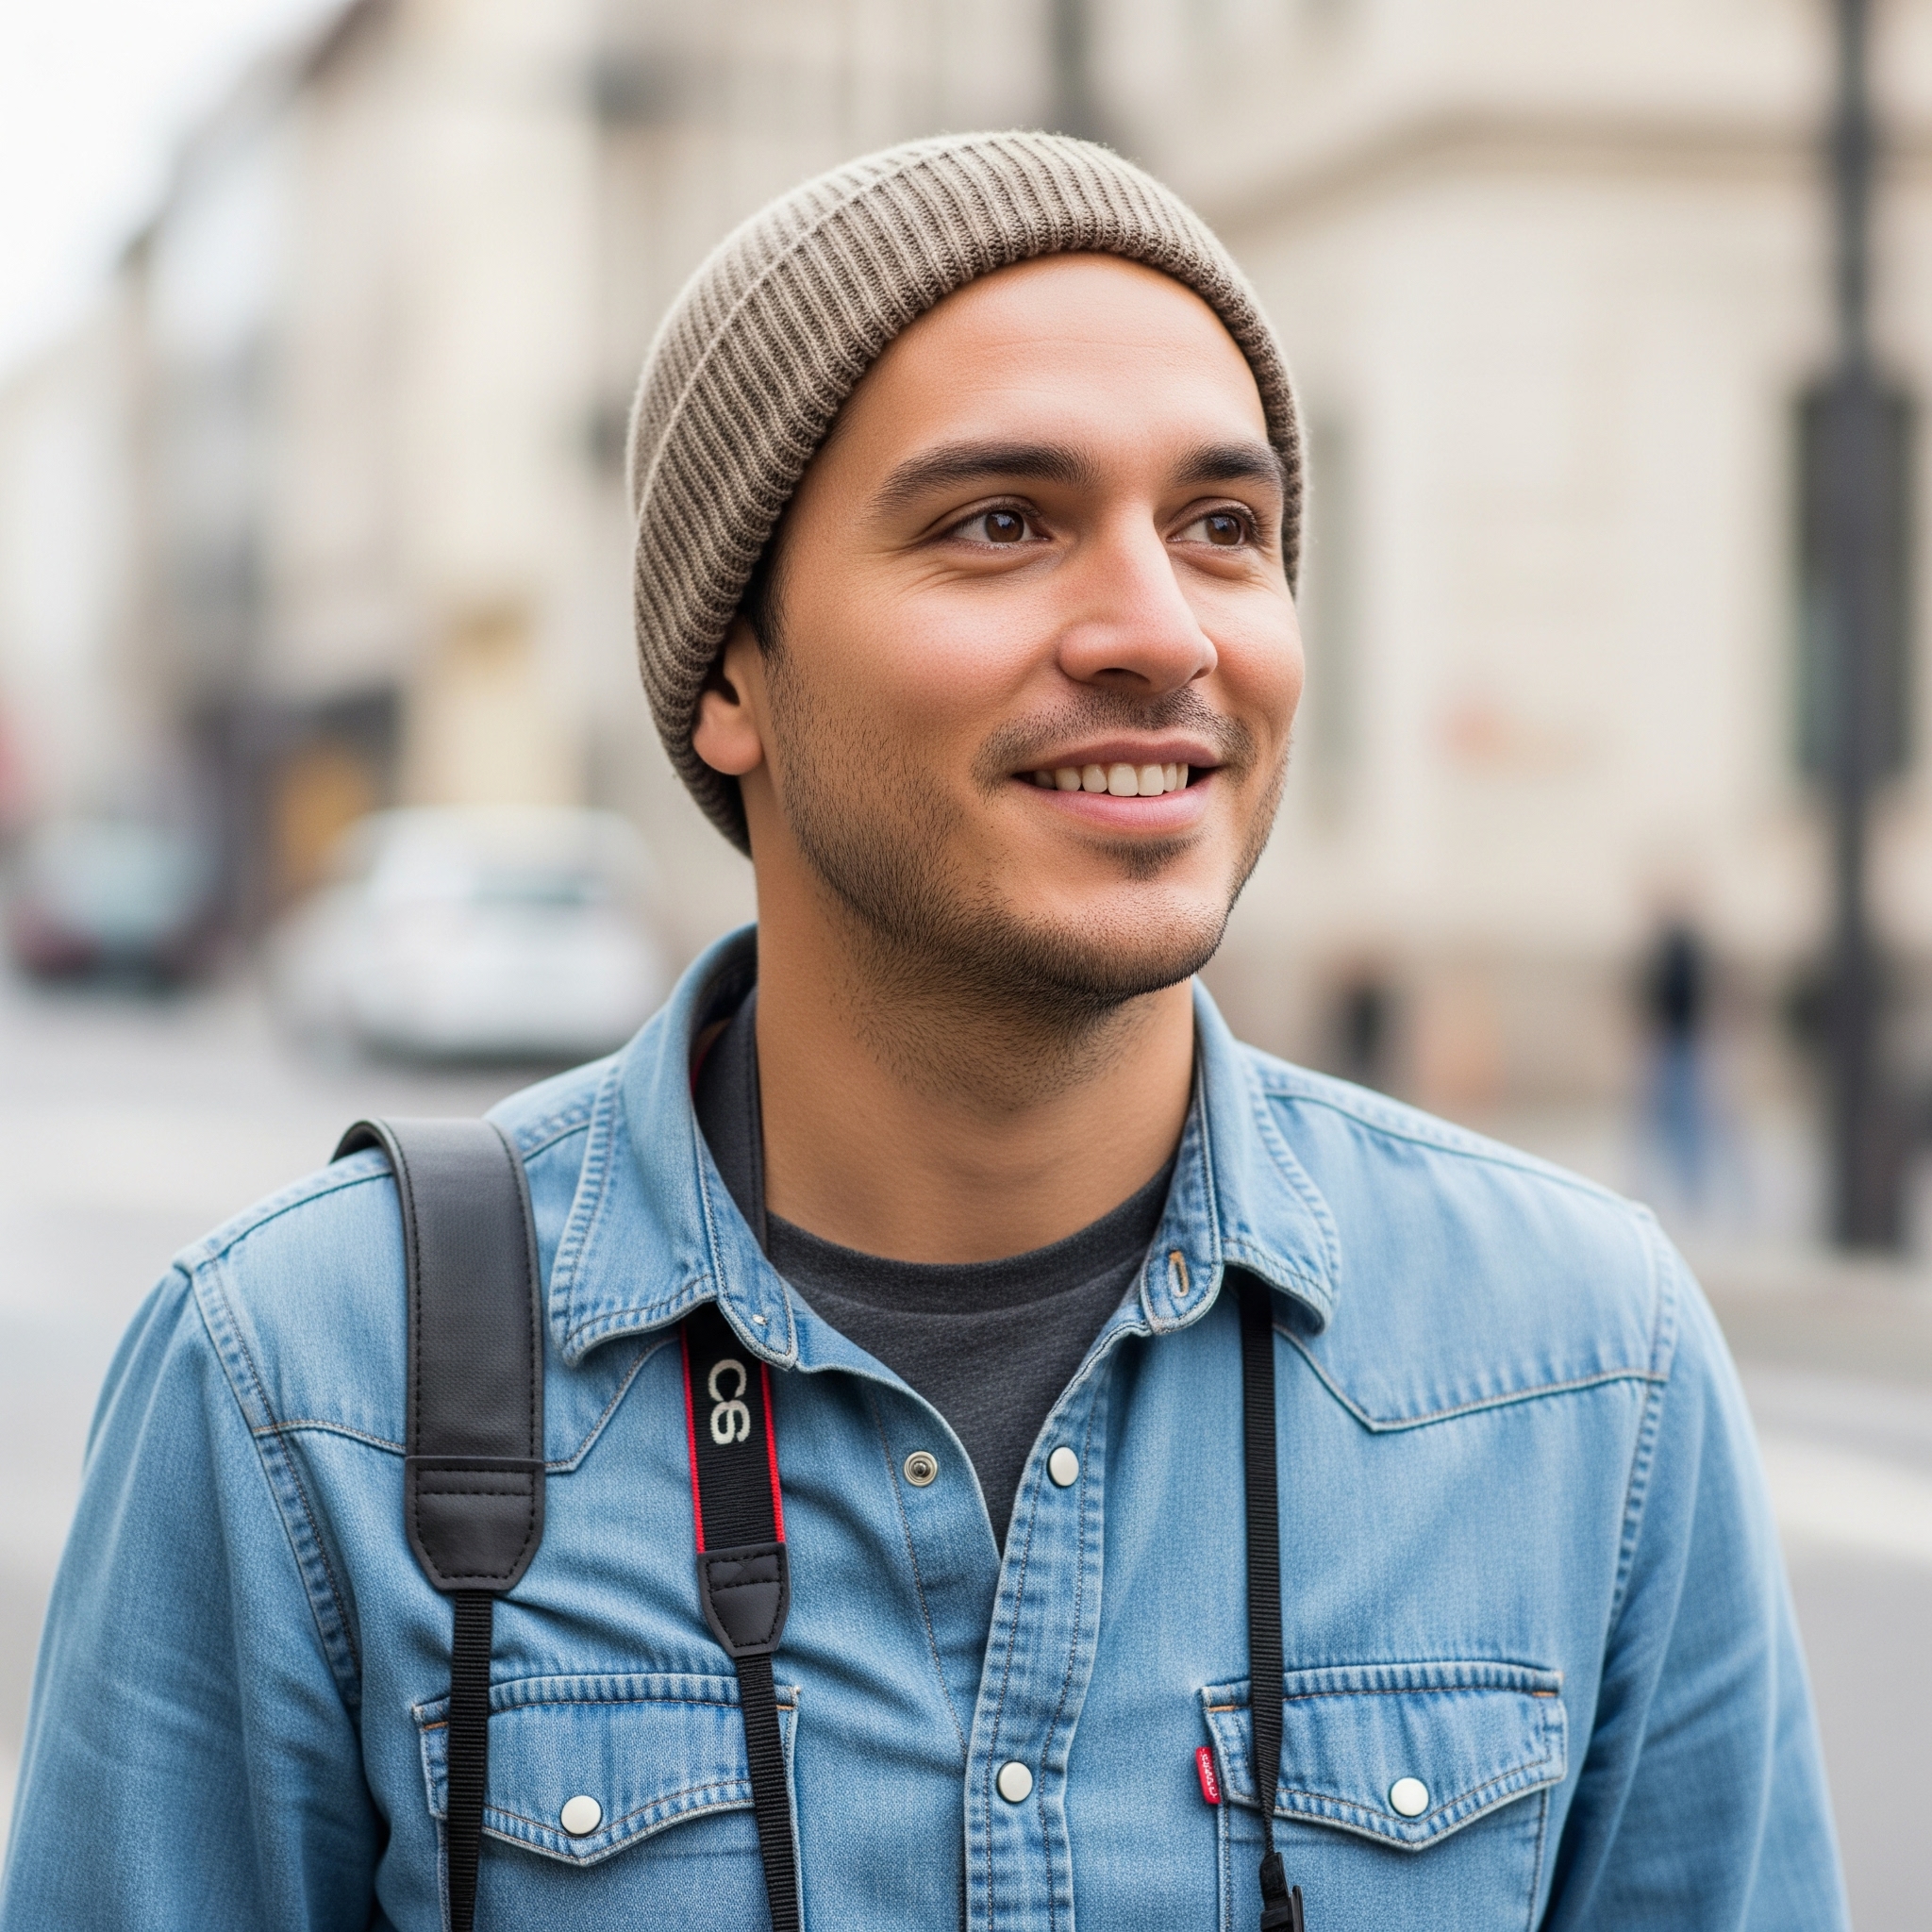
Instead, you'll want to chase the golden hour, that magical time shortly after sunrise or before sunset. This is when the light is softer, redder, and basically wraps everything in a warm, fuzzy blanket. It’s the perfect lighting to make your skin glow, soften your features, and magically erase impurities. This is the essence of great golden hour photography.
Whether you're taking pictures of a grueling hike, shooting products, or just trying to look good, this light is your ticket to a feed full of bangers. And if you don't have a dedicated crew to capture your magic hour glow? No sweat. You can learn how to take Instagram photos of yourself and still look like a star.
Missed the magic window? A cloudy day is your plan B. The clouds act as a giant, free diffuser, softening the sunlight to minimize shadows while keeping the colors rich.
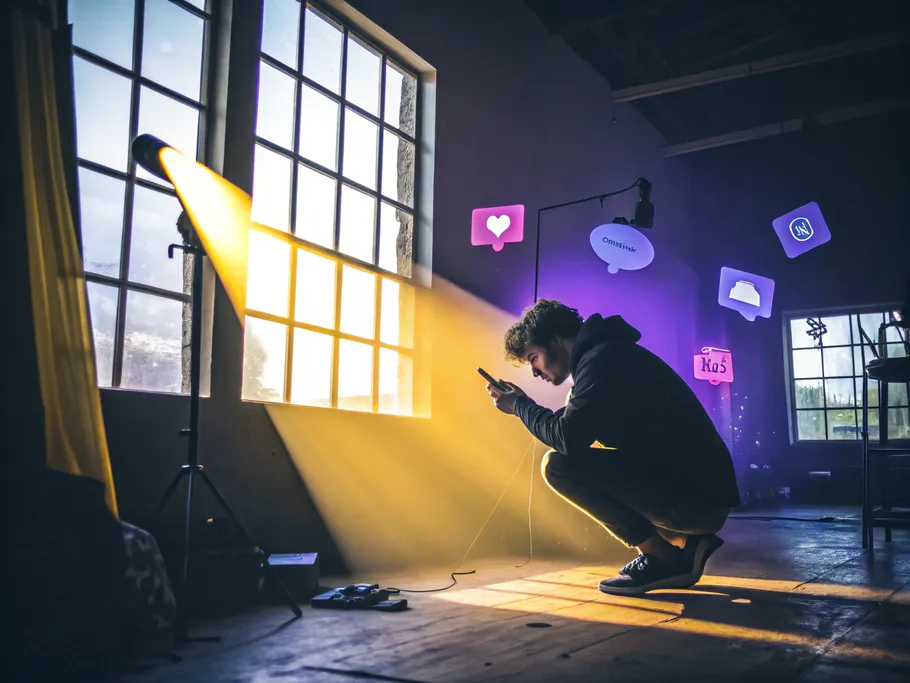
Taking photos inside can feel like trying to solve a puzzle in the dark. You're often fighting against not enough light or, worse, weird, harsh shadows that make you look like a villain in a low-budget movie. Navigating this can be tricky, but there's always a way to gently adjust and find what works.
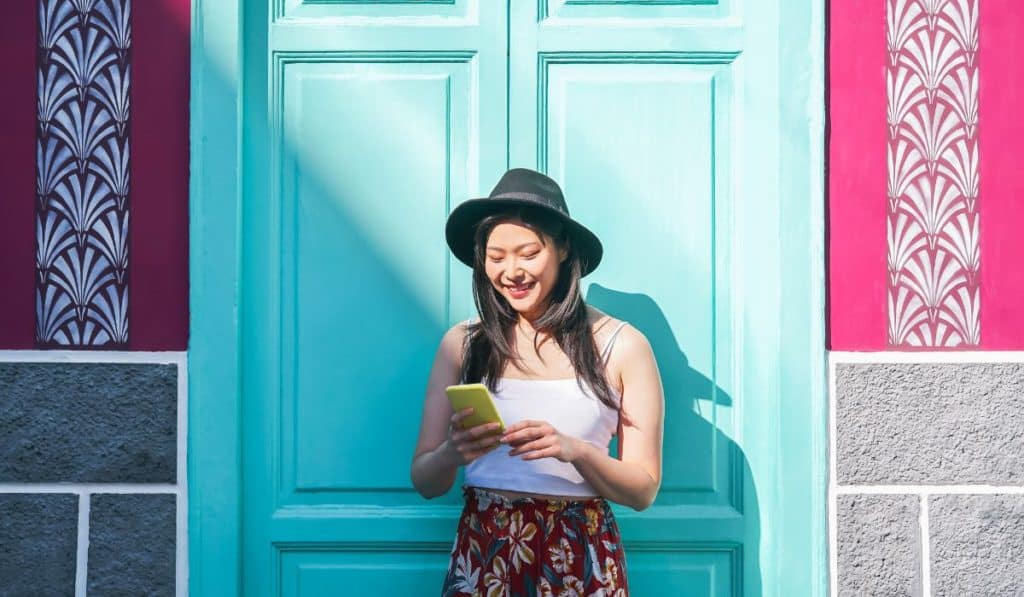
Your best bet is still natural light. Find a big, clear window and make it your stage. The light will be soft and forgiving. If that's not an option, find whatever light source you have and place it behind the camera so your subject is evenly lit.
If you're stuck with a harsh lamp, don't despair. You can use a reflector to bounce the light around or just throw a light cloth or a piece of paper over the lamp to soften it. Even these simple shifts can make a world of difference. For those who want to get serious, especially if you need to take pictures of clothes for your Instagram, renting a photo studio is a solid move. They have all the gear, so all you have to do is show up and shoot.
Ah, the flash. The photographic equivalent of blasting a spotlight into a cave and calling it 'illumination.' It's a tool, yes, but it should never be your main light source. Think of it as a subtle wingman, there to fill in shadows, not to be the star of the show.
To do this right, you need an on-camera flash, not the pop-up one built into your camera or phone. That direct, built-in flash is how you make people look like deer in headlights. An external flash gives you 'control'—mostly over how you bounce the light off a ceiling or wall to make it look less aggressive.
And for the love of god, avoid using flash around mirrors or windows, unless your goal is to have your feed look like a series of blinding white voids from a sci-fi movie.
When you're shooting products, just pointing your camera and hoping for the best won't cut it. You need a more sophisticated setup: a lightbox.
The good thing is that lightboxes aren’t that expensive. You can find a decent one on Amazon, like this one, and they come in all sizes.
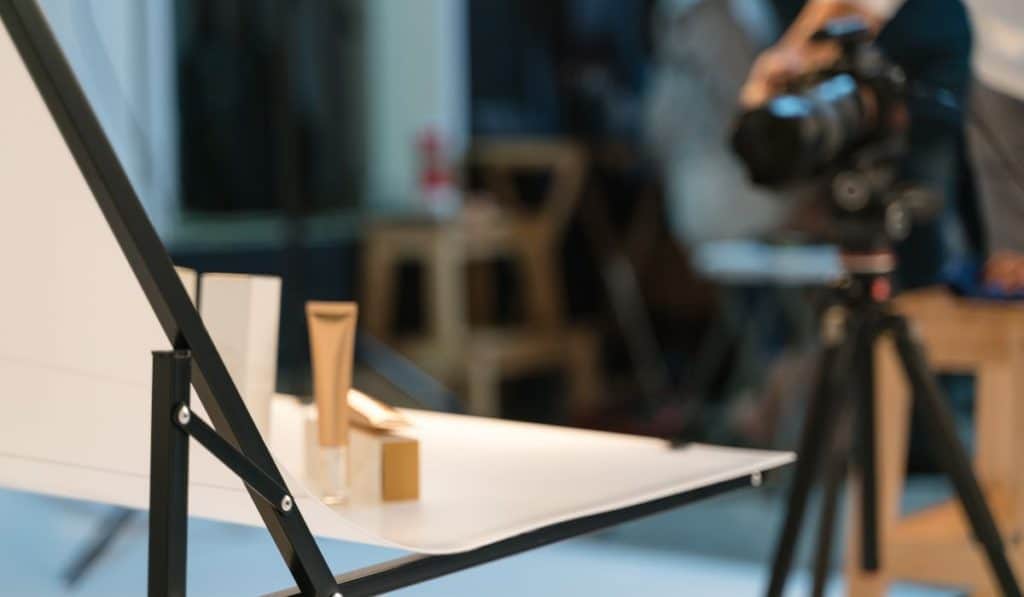
On a tight budget? Welcome to the club. You can find a million DIY tutorials on Pinterest and build one yourself out of a cardboard box and some tissue paper. No excuses.
Sometimes, the lighting just sucks. It happens. That's where the magic of photo editing for Instagram comes in. Apps like Snapseed or Adobe Lightroom are free and powerful enough to save your photos from the digital graveyard. You can tweak the brightness, contrast, and shadows until your photo looks exactly how you wanted it to. Or, you know, just slap an Instagram filter on it and call it a day.
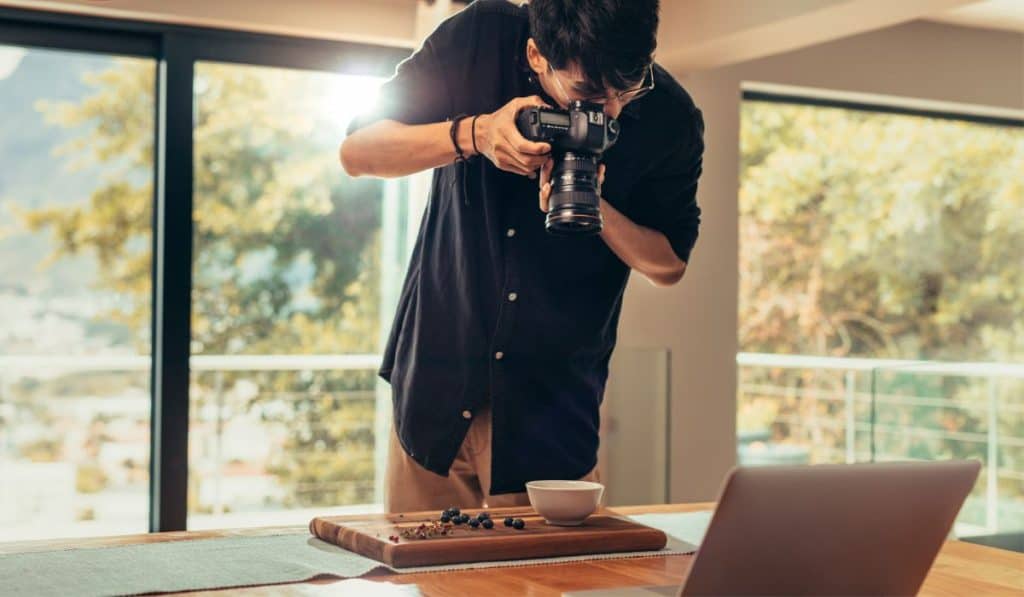
Look, your smartphone camera is probably amazing. But it has its limits. If you're serious about creating stunning images and want to know how to take bright Instagram photos consistently, you need a real camera.
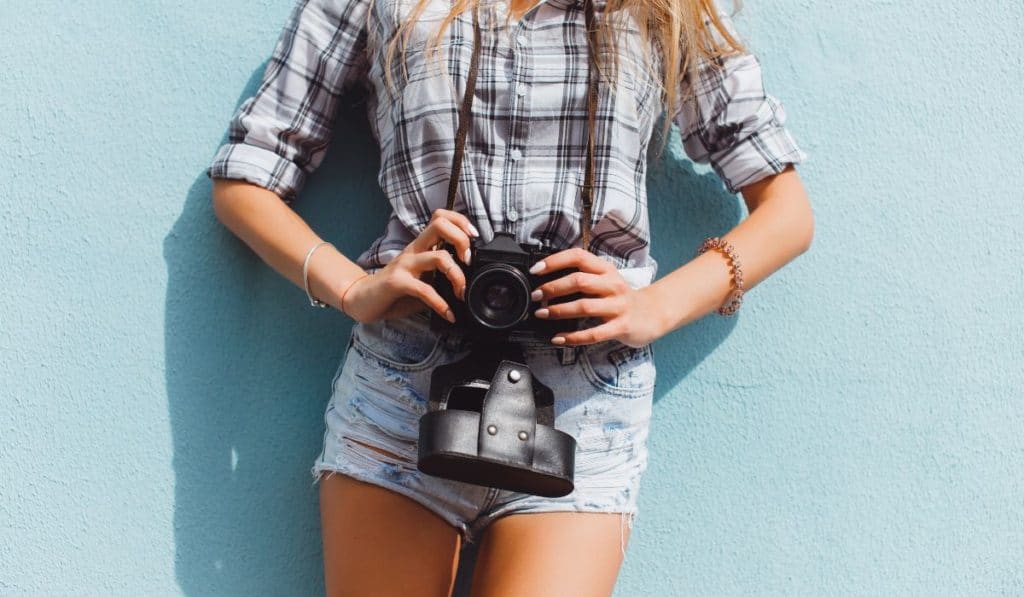
A decent camera gives you the freedom to edit your photos without turning them into a pixelated mess and allows you to adjust settings on the fly. It's an investment, but it's worth it. Got a bigger budget and a taste for adventure? A GoPro is a fantastic tool for travel and sports.
There you have it. All the essential photo lighting tips you need to elevate your Instagram game from blurry afterthought to intentional art. It's not magic, but it does require you to actually pay attention.
Here’s the lightning-round recap:
While these strategies are proven to work, every account is unique. Get a personalized audit that analyzes your specific account data and provides tailored recommendations for growth and monetization.
On the weekends, you’ll probably find me exploring the city with my sketchbook or developing film in the local community darkroom.